Building Efface
From a Slow Python Script to a Native macOS Face Anonymization App
The Problem
Sometimes you need to share a photo or video but there are faces in it that shouldn't be there—bystanders in a street scene, students in a classroom recording, children at a public event. The responsible thing is to blur those faces before sharing.
The existing open-source solution is deface, a Python command-line tool that detects faces using ONNX Runtime and anonymizes them with OpenCV. It works. But running it on a 30-second 1080p video on my M1 MacBook Pro took several minutes. Every frame gets decoded by Python, pushed through ONNX, processed by OpenCV, and re-encoded. The pipeline is impressive in its generality—it runs on any platform—but it completely ignores the hardware sitting right there in every modern Mac: the Neural Engine.
The Opportunity
Apple Silicon chips have a dedicated 16-core Neural Engine capable of 15+ trillion operations per second. My M1 was doing face detection through a Python → ONNX → CPU pipeline while a purpose-built ML accelerator sat idle. That felt like a problem worth solving.
Phase 1: Starting with Deface
I started by using deface directly. Install with pip, point it at a file, wait:
pip install deface
deface input.mp4 --output output.mp4 --threshold 0.2
It detected faces reliably. The underlying model is CenterFace—a single-shot anchor-free face detector published by Xu et al. in 2019. CenterFace is elegant: one forward pass through a small neural network produces a heatmap of face centers, bounding box dimensions, offsets for sub-pixel accuracy, and 5-point facial landmarks (eyes, nose, mouth corners). No proposal stages, no anchors, no NMS on thousands of candidates. Just direct regression.
The model itself is fast. The Python overhead around it is not. Deface pulls in ONNX Runtime, OpenCV, NumPy, and their transitive dependencies. On macOS, ONNX Runtime defaults to CPU execution. Video decode and encode go through OpenCV's Python bindings. Every frame crosses the Python-C boundary multiple times.
I wanted to keep CenterFace but ditch everything around it.
Phase 2: Extracting the Brain
CenterFace ships as an ONNX model—a portable neural network format. Apple's coremltools can convert ONNX models to Core ML format, which runs natively on the Neural Engine:
import coremltools as ct

model = ct.converters.onnx.convert(
    model="centerface.onnx",
    minimum_deployment_target=ct.target.macOS15
)
model.save("CenterFace.mlpackage")
The converted model takes a [1, 3, 640, 640] float tensor (RGB image) and outputs four arrays:
| Output | Shape | Purpose |
|---|---|---|
var_848 | [1, 1, 160, 160] | Face center heatmap |
var_859 | [1, 4, 160, 160] | Bounding box scale (h, w per face) |
var_870 | [1, 2, 160, 160] | Sub-pixel offset (y, x) |
var_881 | [1, 10, 160, 160] | 5-point landmarks (x0,y0,...,x4,y4) |
The heatmap is the key—each cell in the 160×160 grid represents a 4×4 pixel region of the input. A high value means "face center here." The scale outputs give bounding box dimensions, and the landmarks give you eye, nose, and mouth positions relative to each detection's bounding box.
With the Core ML model in hand, I could run inference directly on the Neural Engine. No Python. No ONNX Runtime. No OpenCV.
Phase 3: Going Native
The app came together as a SwiftUI macOS application. The architecture is straightforward:
Efface.app
├── CenterFace.mlpackage # Bundled Core ML model
├── CenterFaceDetector # Inference + post-processing
├── NativeMediaProcessor # Image/video pipeline
├── AppState # Observable state machine
└── Views/
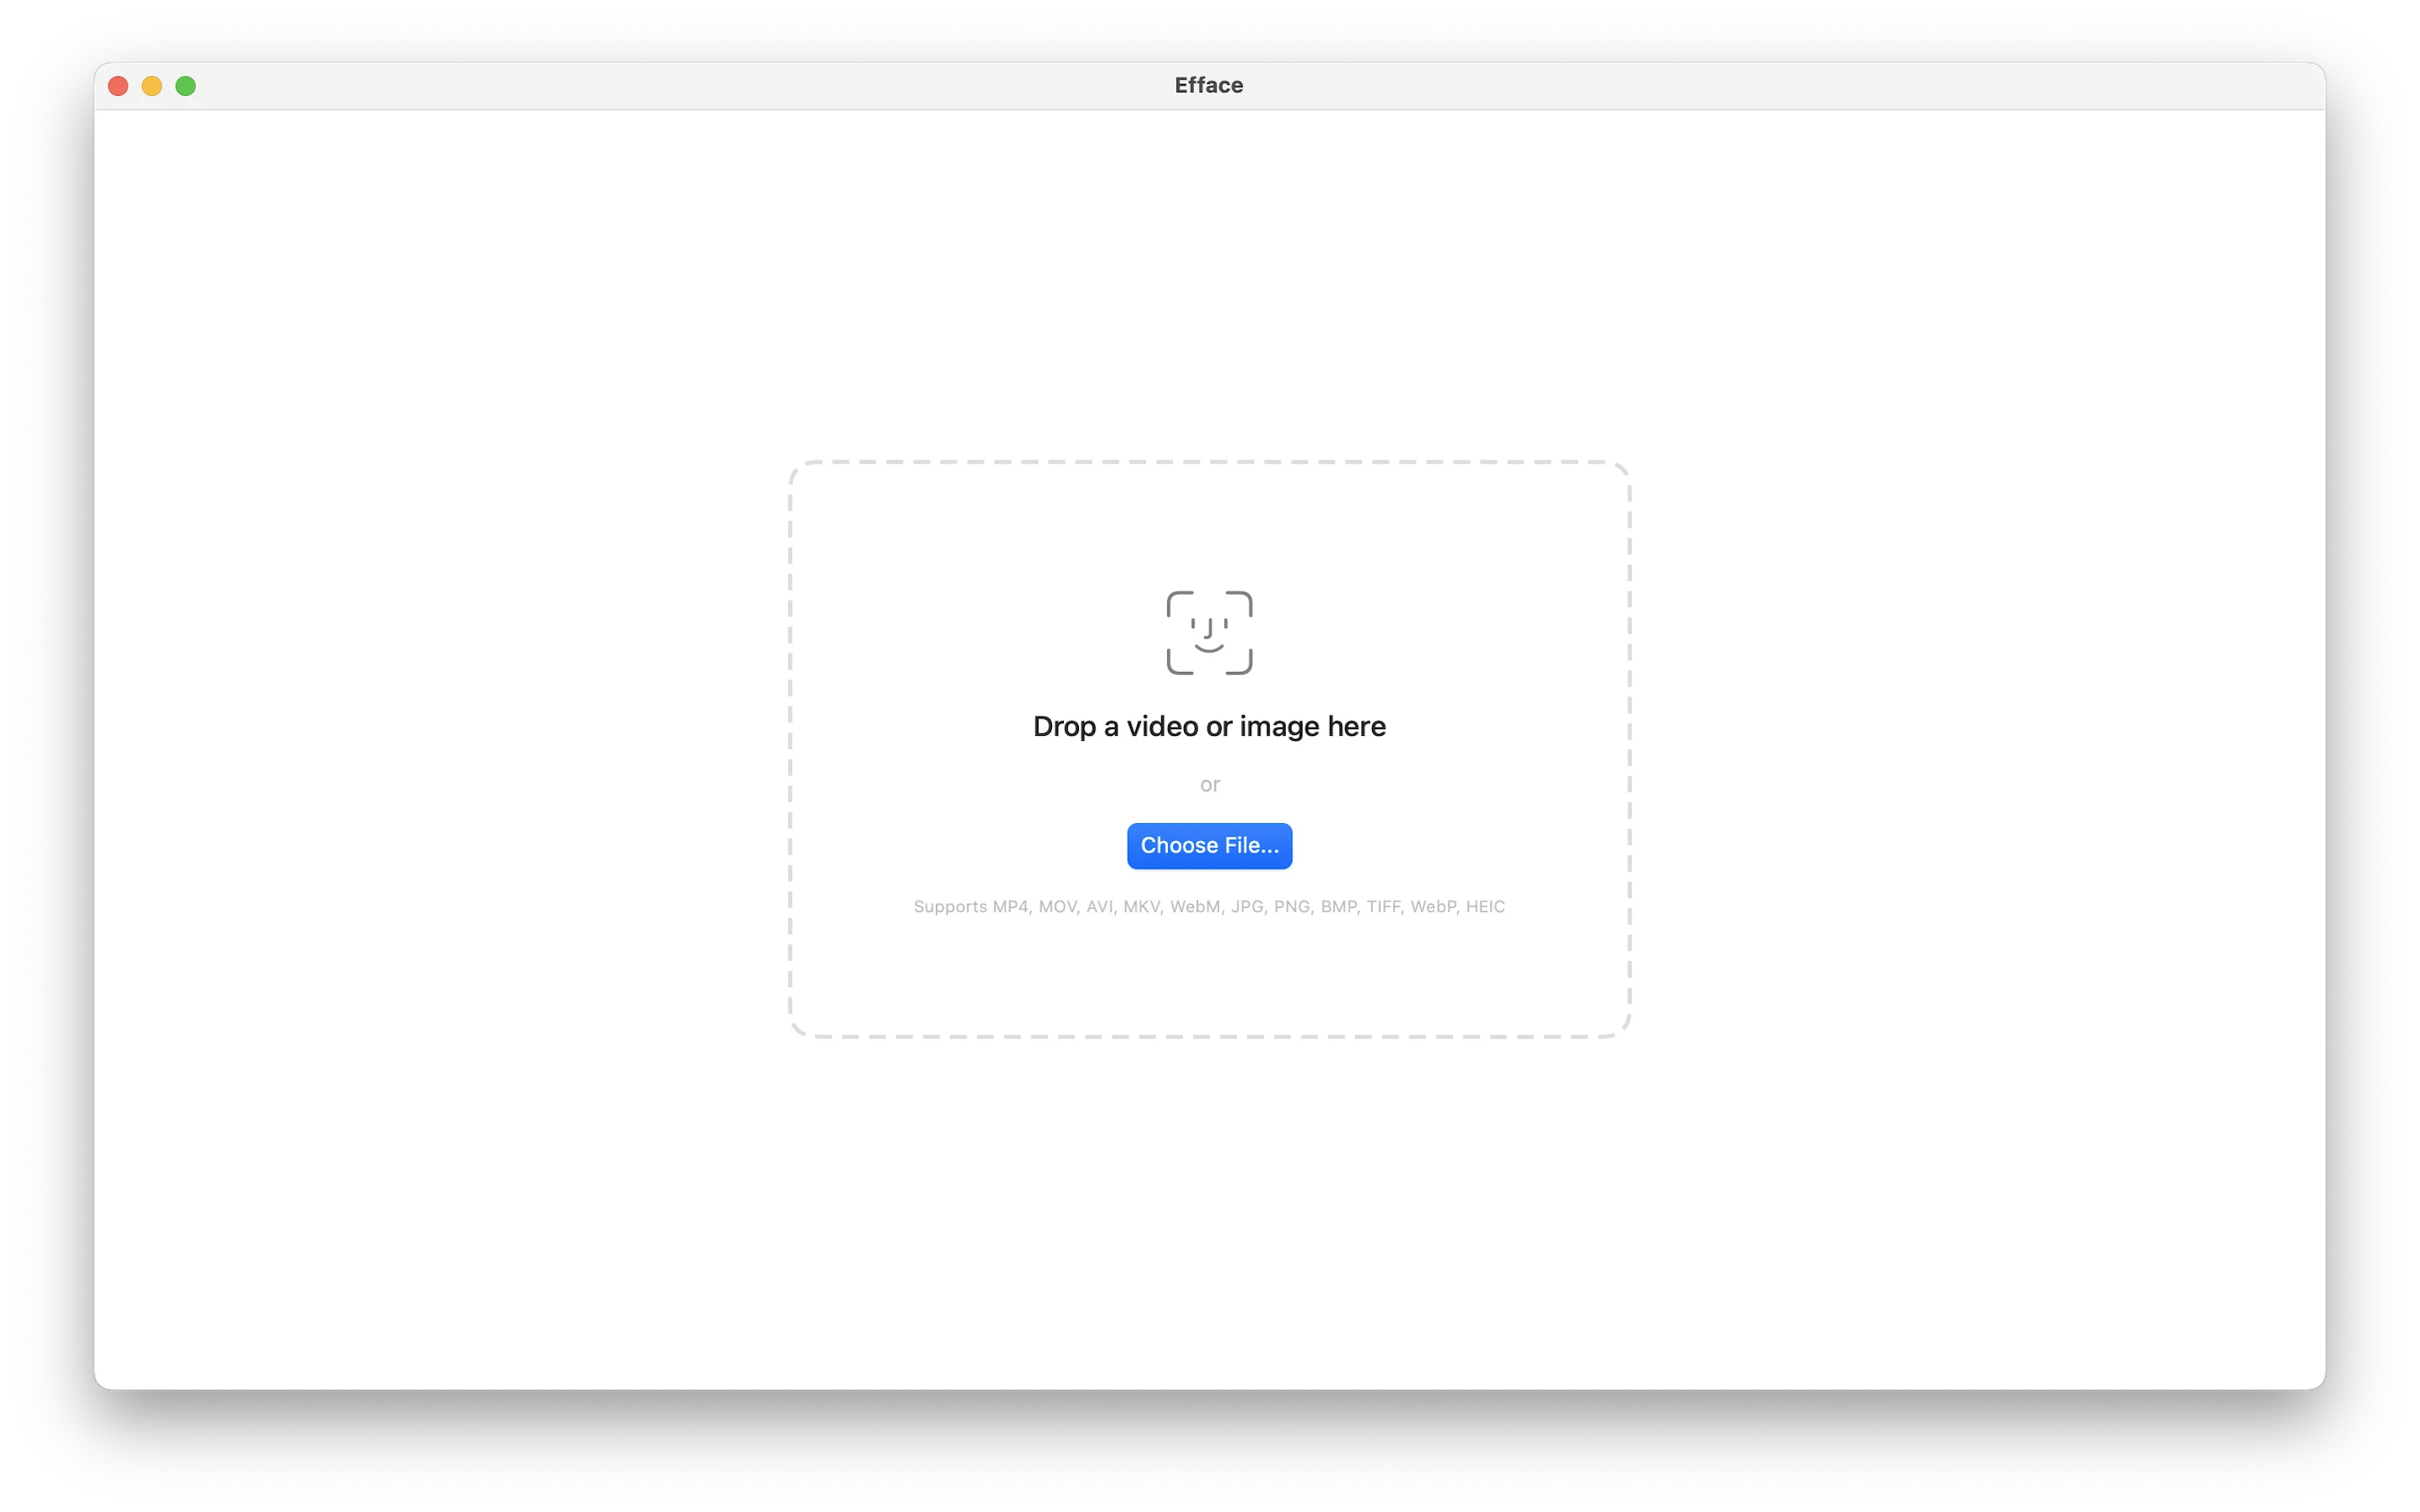
├── DropZoneView # Drag-and-drop + file picker
├── ProcessingView # Progress bar + live log
├── ResultView # Before/after + save
└── SettingsView # Style, sensitivity, mask shapeThe Detection Pipeline
For each frame, the detector resizes the input to 640×640 using Core Image (GPU-accelerated), converts to a CVPixelBuffer for Core ML input, runs inference on the Neural Engine, decodes the four output tensors into face detections, and applies non-maximum suppression to remove duplicates.
The decode step is where the interesting math lives. The heatmap gives confidence scores, but you need to combine all four outputs to get actual bounding boxes:
let xCenter = (Float(col) + offset_x + 0.5) * 4.0
let yCenter = (Float(row) + offset_y + 0.5) * 4.0
let boxW = scale_w  // width in pixels
let boxH = scale_h  // height in pixels
The * 4.0 maps from the 160×160 grid back to the 640×640 input space. The + 0.5 centers within each grid cell. The offset refines sub-pixel position.
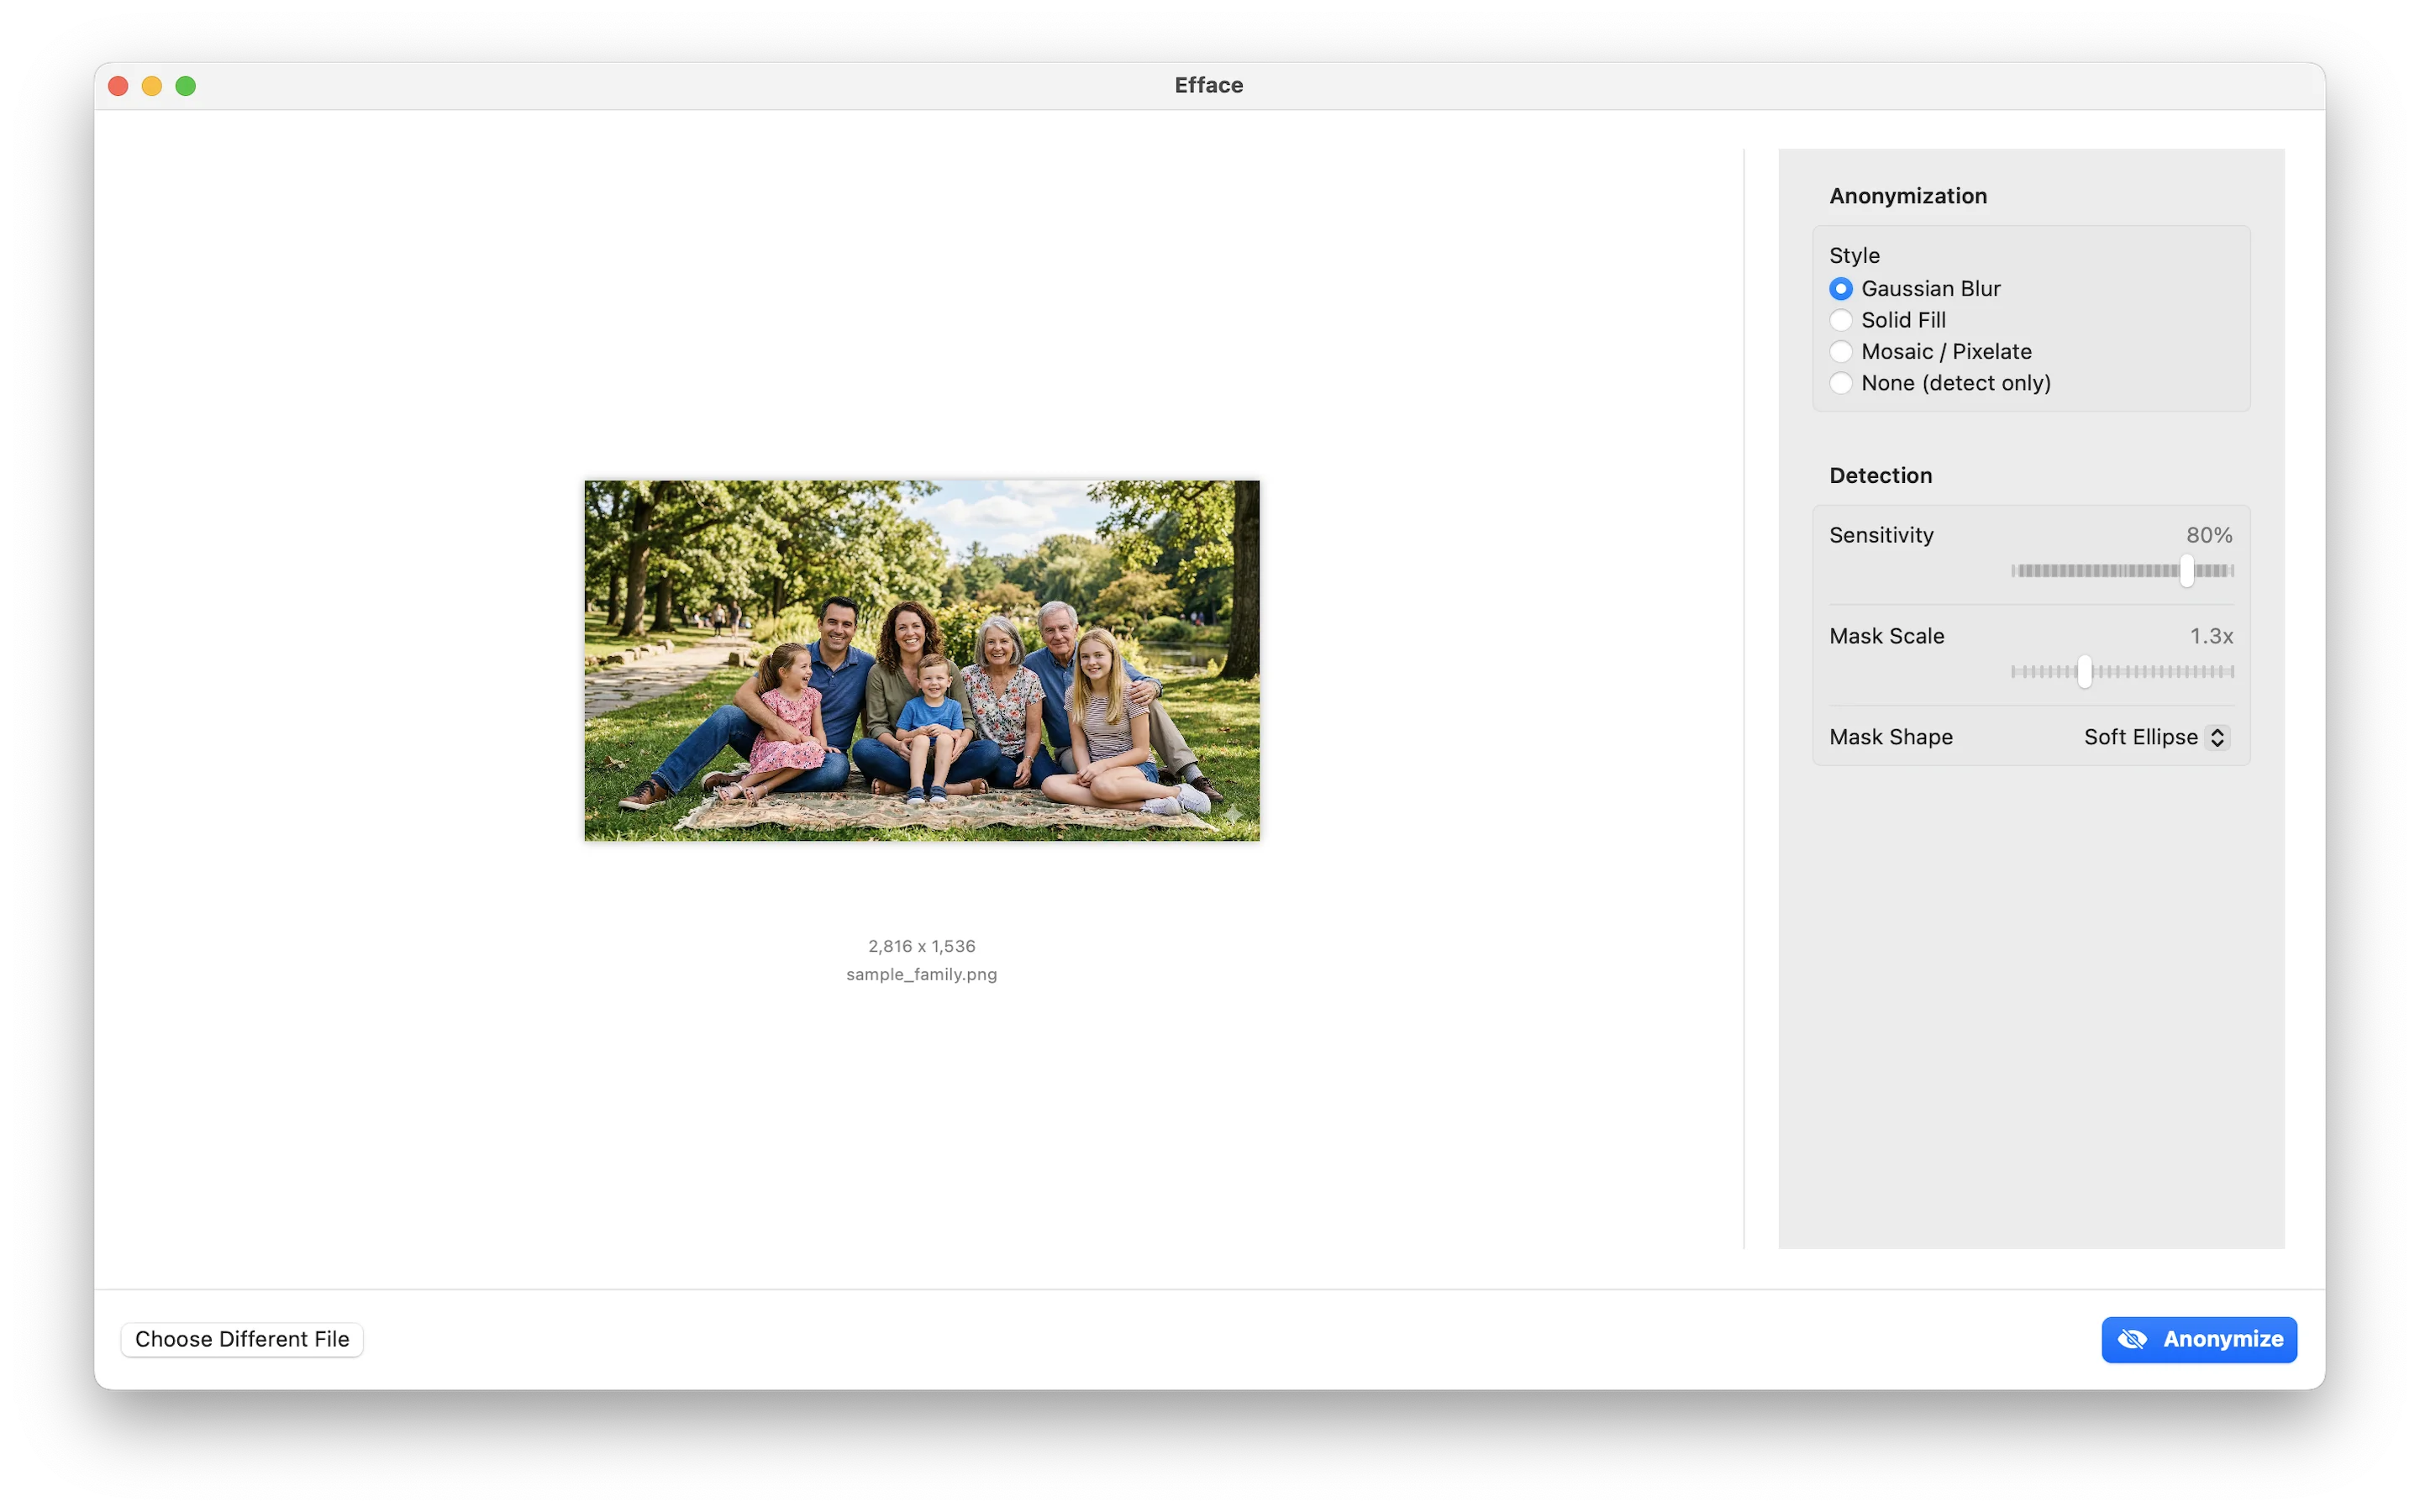

Anonymization Styles
Once faces are detected, the app offers several anonymization modes—all implemented with Core Image filters for GPU acceleration:
- Gaussian Blur —
CIGaussianBlurapplied to masked regions - Solid Fill — Composited color rectangles with configurable color
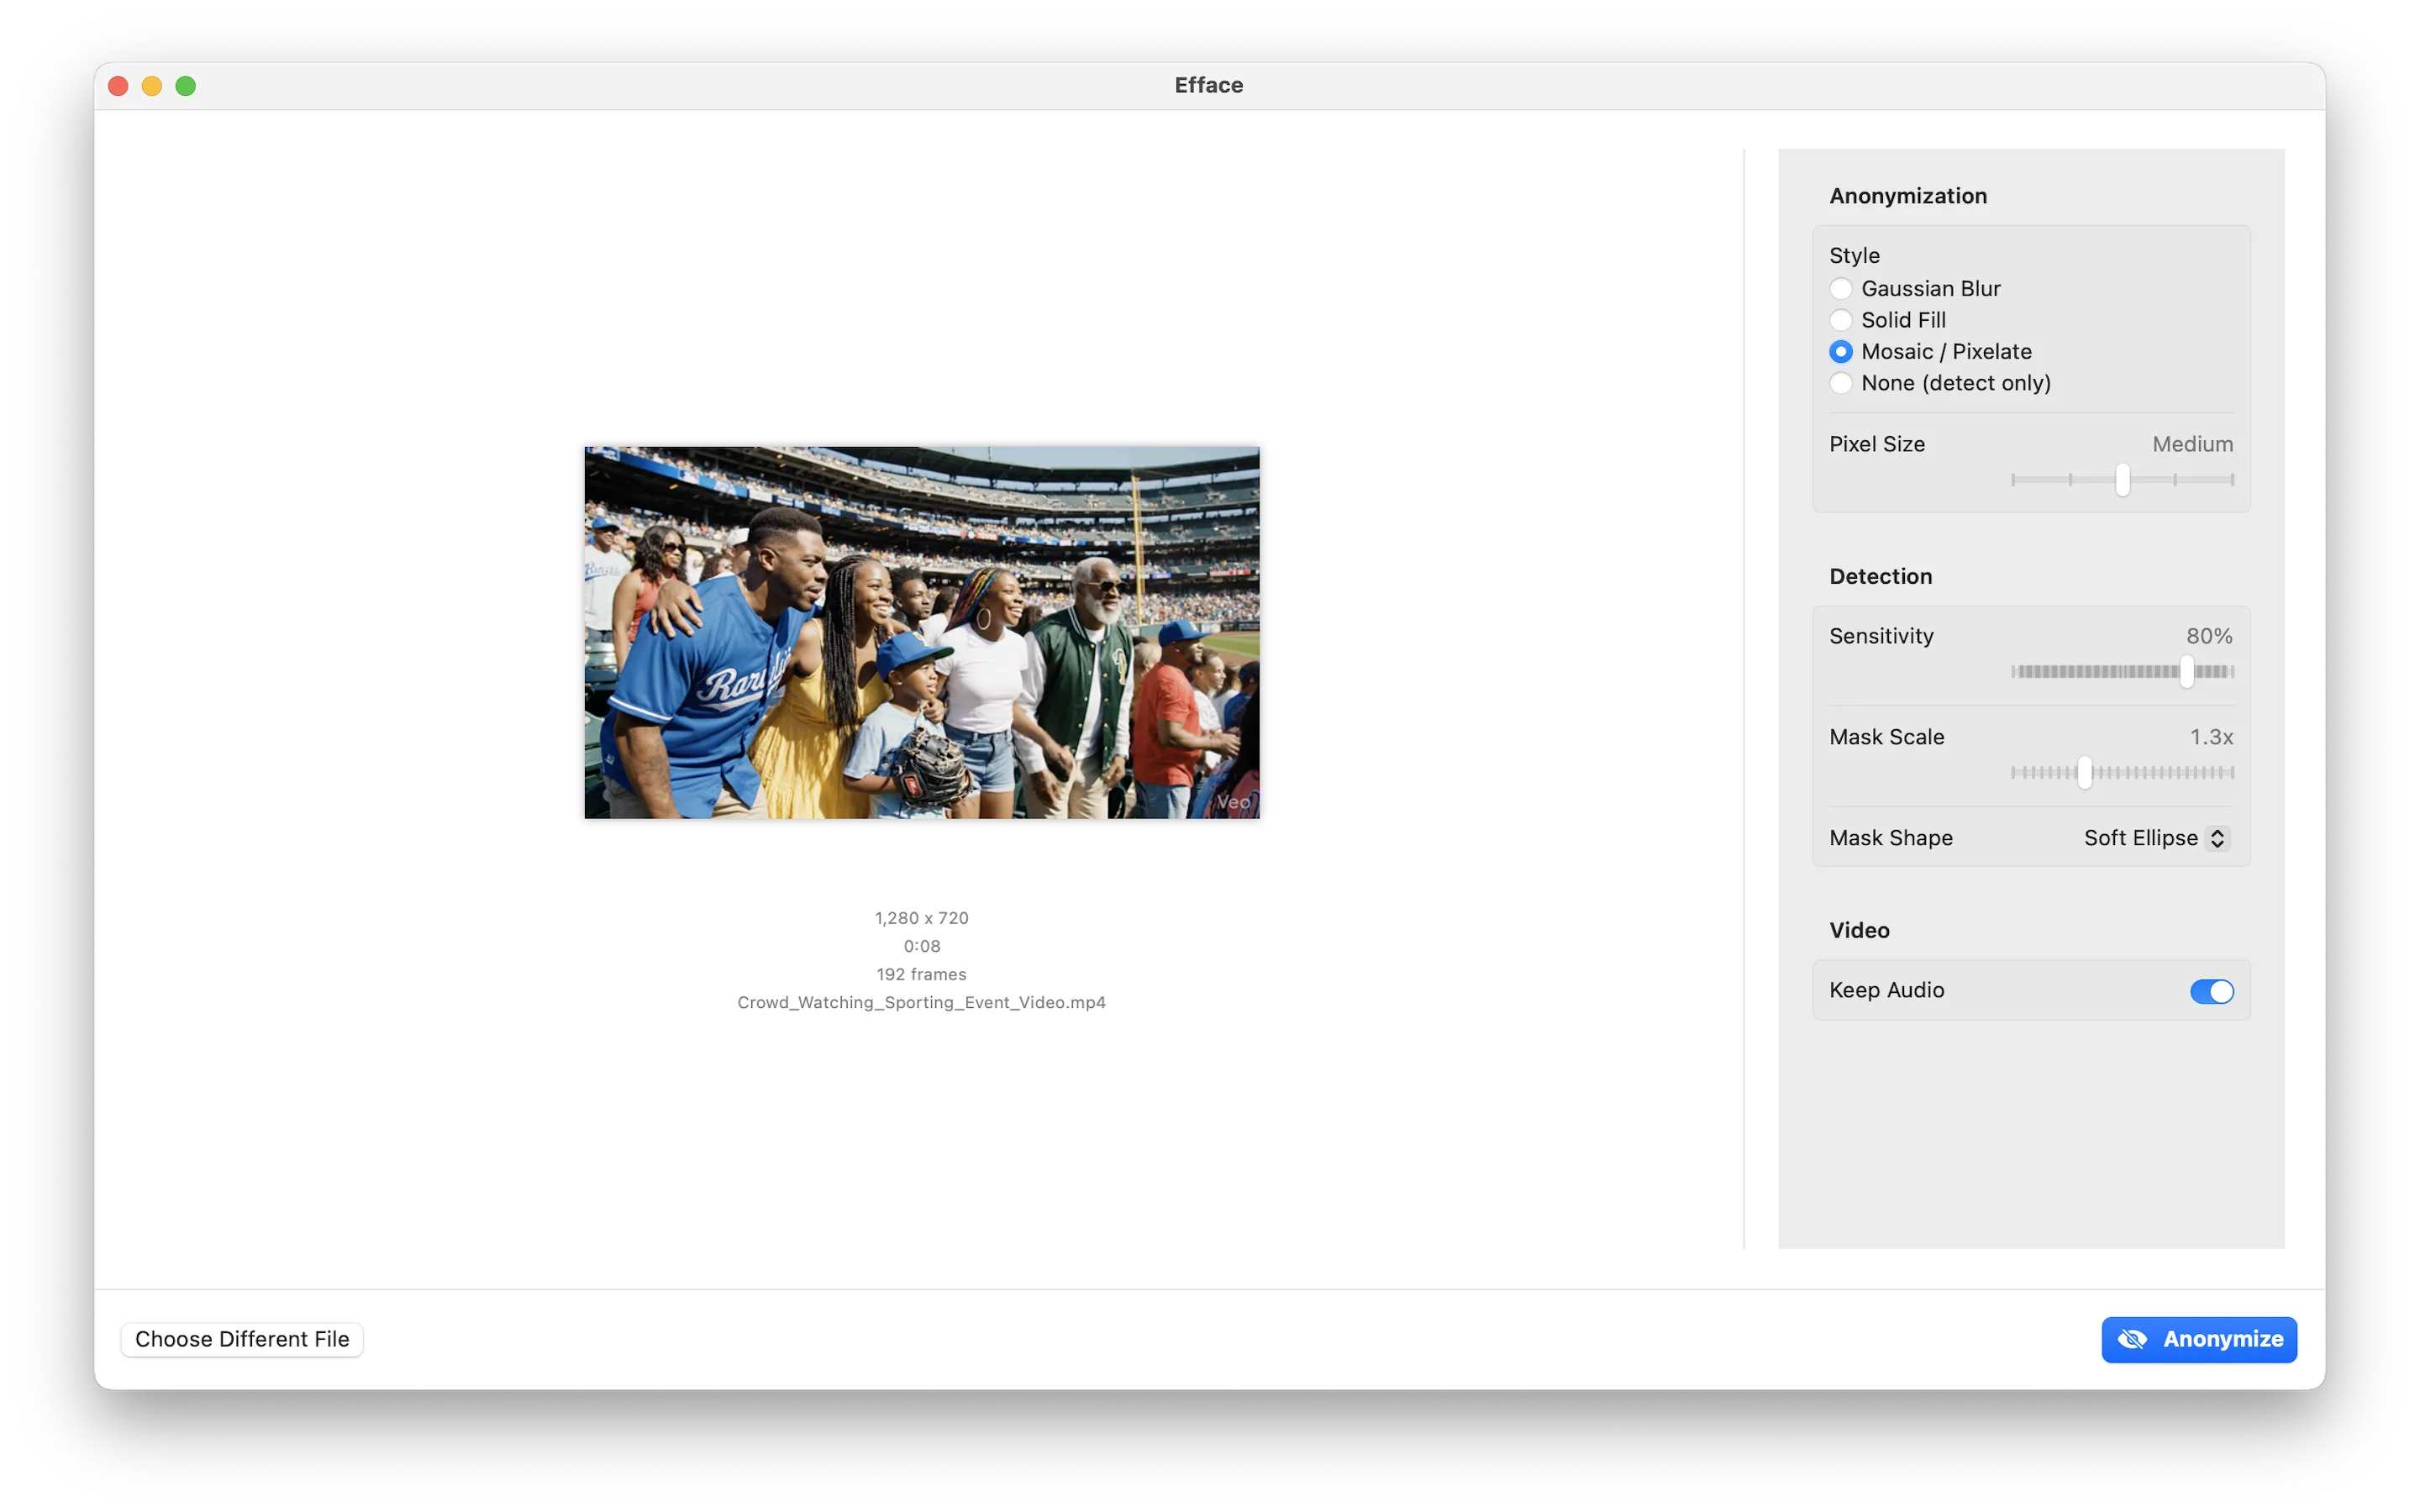
- Mosaic — Pixelation via
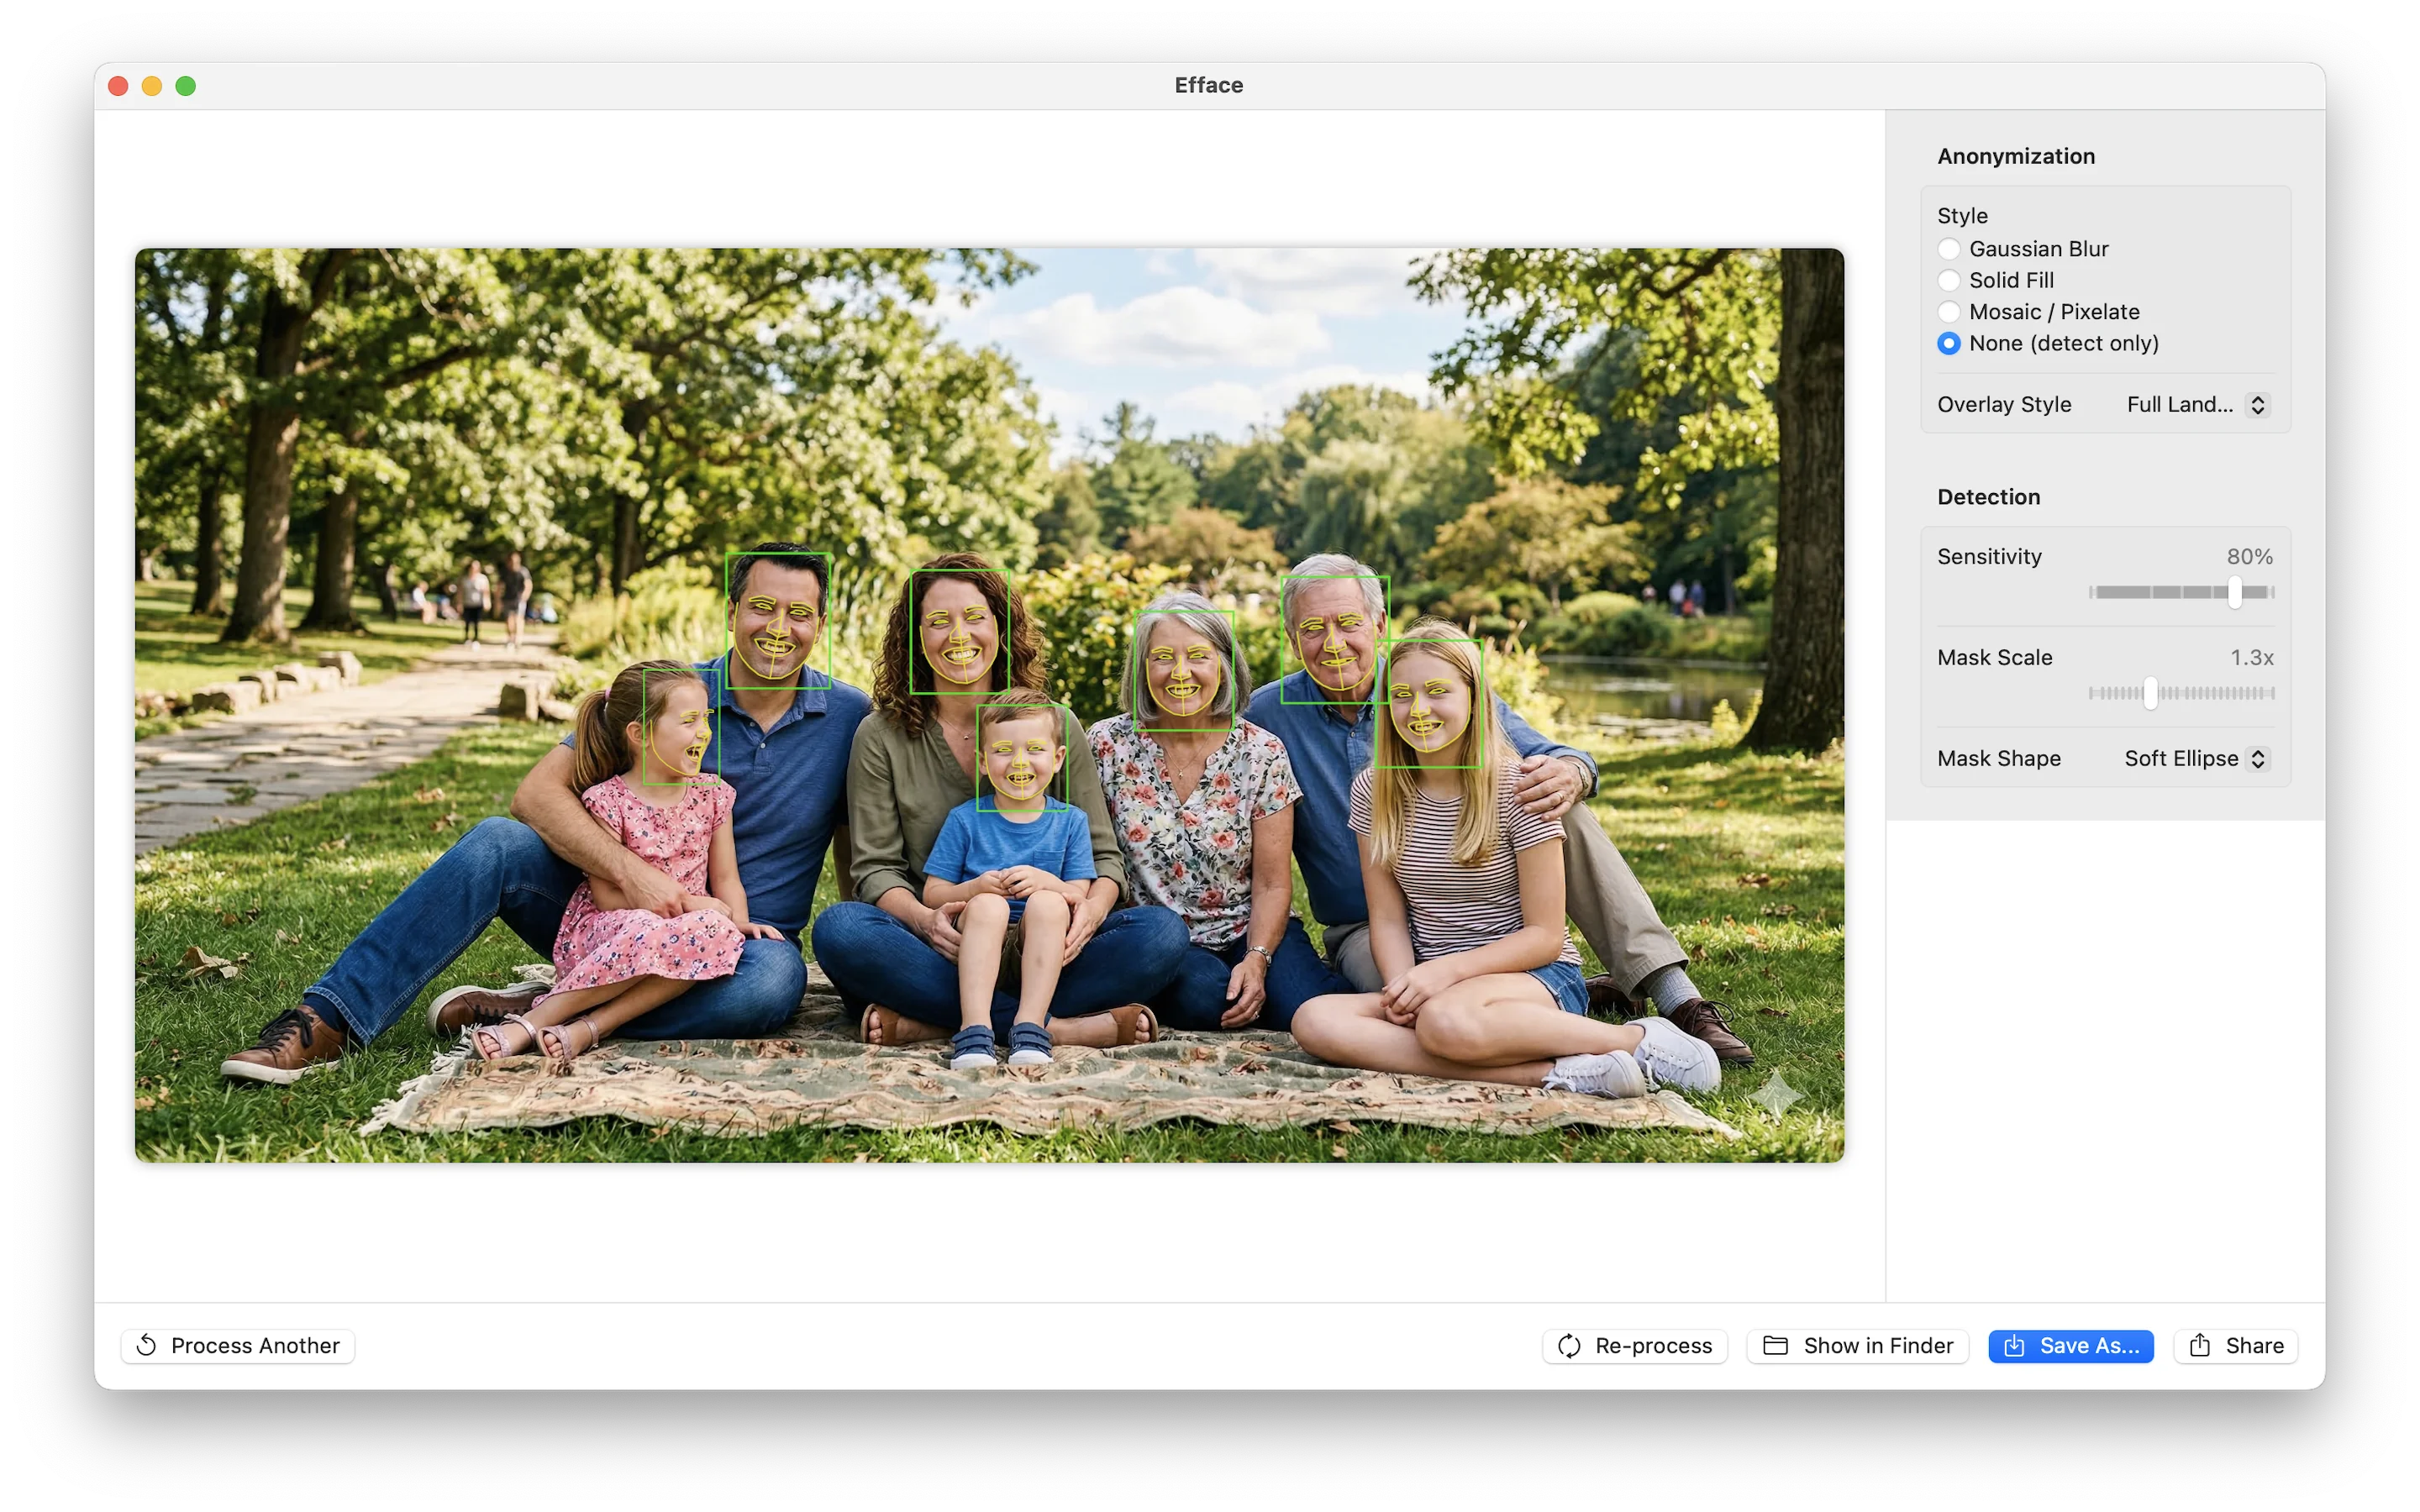
CIPixellatewith adjustable block size - None (detect only) — Shows detections without anonymizing, with overlay options: a reticle HUD, 5-point key landmarks, or full Apple Vision face contours
Video Processing
Video processing uses AVAssetReader and AVAssetWriter for hardware-accelerated decode/encode, with face detection running on each frame. Temporal smoothing prevents detections from flickering between frames—if a face was detected in the previous frame near the same location, the confidence threshold is lowered to maintain tracking continuity.
The Full Pipeline
The entire pipeline stays on Apple Silicon. Video decode happens on the media engine, face detection on the Neural Engine, blur/pixelate on the GPU, and re-encode back on the media engine. Python touches none of it.
Phase 4: Getting the Details Right
Landmark Decode Bug
CenterFace's five facial landmarks (left eye, right eye, nose, left mouth corner, right mouth corner) weren't landing where they should. Every landmark was shifted down and to the right of the actual facial feature.
The bug was in the reference frame. The landmark offsets in CenterFace are relative to the bounding box top-left corner, not the face center. The original Python reference code makes this clear:
# CenterFace Python reference
lm_x = lms[0, j*2, row, col] * s1 + x1  # x1 = bbox left
lm_y = lms[0, j*2+1, row, col] * s0 + y1  # y1 = bbox top
My initial Swift code was anchoring landmarks to the face center (xCenter, yCenter), which adds half the box width and height—shifting everything to the lower-right. The fix:
// Compute bbox top-left (not center)
let x1 = xCenter - boxW / 2
let y1 = yCenter - boxH / 2

for i in 0..<5 {
    let lx = landmarkOffset_x[i] * boxW + x1
    let ly = landmarkOffset_y[i] * boxH + y1
    landmarks.append(CGPoint(x: lx / imageWidth, y: ly / imageHeight))
}
Loading State
A subtle UX issue: when loading HEIC photos, the app converts them to PNG behind the scenes (since Core Image processes them more reliably). This takes a moment, during which the UI still showed the drag-and-drop target. Users would click again thinking nothing happened. Adding a .loading phase to the state machine with a simple spinner fixed the confusion.
Technical Deep Dive: The Float16 Crash
The app worked perfectly in development. Built a DMG, signed it, notarized it, installed it—and it crashed immediately when processing video.
Thread 2 Crashed:: Dispatch queue: com.efface.videoprocessing
Swift runtime failure: arithmetic overflow
CenterFaceDetector.float32Buffer(from:) + 520
The Problem
Core ML can return model outputs as either Float32 or Float16 arrays. In development builds, I was getting Float32. In release builds with optimizations enabled, Core ML chose Float16—and my manual IEEE 754 half-precision to single-precision conversion had a bug.
Float16 has a special case: denormalized numbers (exponent bits all zero, fraction non-zero). These represent very small values near zero. My conversion code tried to normalize them:
// The buggy code
var exp: UInt32 = 0   // exponent is zero for denormals
var frac: UInt32 = /* fraction bits */

// Normalize: shift fraction left until the implicit leading 1 appears
while frac & 0x400 == 0 {
    frac <<= 1
    exp = exp &- 1  // Wrapping subtraction: 0 - 1 = UInt32.max
}
exp += 1  // UInt32.max + 1 = OVERFLOW
The wrapping subtraction &- on an unsigned integer turns 0 into 4,294,967,295. Then exp + 1 overflows. Swift's release mode enables arithmetic overflow traps, and the app crashes.
The Fix
Rather than fix the bit manipulation, I replaced it entirely with Apple's Accelerate framework:
import Accelerate

// Float16 → Float32 via vImage (handles all edge cases correctly)
var srcBuf = vImage_Buffer(
    data: UnsafeMutableRawPointer(mutating: float16Pointer),
    height: 1, width: vImagePixelCount(count),
    rowBytes: count * MemoryLayout<UInt16>.size
)
var dstBuf = vImage_Buffer(
    data: float32Pointer,
    height: 1, width: vImagePixelCount(count),
    rowBytes: count * MemoryLayout<Float>.size
)
vImageConvert_Planar16FtoPlanarF(&srcBuf, &dstBuf, 0)
One function call. Handles zeros, denormals, infinities, NaN. SIMD-optimized. And I added tests covering all 1,023 denormalized Float16 values—the exact case that caused the crash. The kind of test I should have written before shipping.
Distribution: Signing, Notarizing, and Shipping
macOS distribution outside the App Store requires three steps to avoid the "unidentified developer" warning:
- Code signing with a Developer ID Application certificate
- Notarization — uploading to Apple's servers for malware scanning
- Stapling — attaching the notarization ticket to the binary
# Archive and export with Developer ID signing
xcodebuild -project Efface.xcodeproj -scheme Efface \
    -configuration Release -archivePath build/Efface.xcarchive archive

xcodebuild -exportArchive -archivePath build/Efface.xcarchive \
    -exportOptionsPlist ExportOptions.plist -exportPath build/export

# Notarize
xcrun notarytool submit build/Efface.dmg \
    --apple-id "$APPLE_ID" --password "$APP_PASSWORD" \
    --team-id "$TEAM_ID" --wait

# Staple the ticket
xcrun stapler staple build/Efface.dmg
For the DMG itself, I wanted the classic Mac installer experience—app icon on the left, Applications shortcut on the right, drag arrow in between. This involves creating a writable disk image, mounting it, using AppleScript to set Finder view options and icon positions, then converting to a compressed read-only image. It's archaic and wonderful.
v1.1.0 Update: Preview, Batch, and a Detour I Pulled Back Out
A researcher reached out who had a folder of hour-long classroom videos and a real-world problem with the original Efface: the only way to know if her settings (sensitivity, mask scale, blur style) were dialled in correctly was to wait an hour for one video to finish, watch it, and try again if she didn't like the result. With fifty videos to anonymize, that was a non-starter. The original app assumed you process one file at a time, end to end. v1.1.0 grew up around her use case.
Preview First 10 Seconds
The simplest fix to the long-render problem: clamp the processor to a time range, write the result to a temp file, open it. The pipeline doesn't change much — AVAssetReader takes a timeRange already; you just have to remember to writer.startSession(atSourceTime: timeRange.start) instead of .zero, otherwise frames before timeRange.start get dropped silently. The result is a 10-second clip you can watch, tweak settings, preview again, and commit to the full hour only when you're satisfied.
Batch Folder Processing
Process Folder… opens a folder picker, enumerates every video in it, and queues each one as a job. There's a settings sidebar so you can tune blur style and sensitivity for the whole batch, and a "Test First 10s" button that runs preview mode on the first video so you can validate the settings before kicking off an overnight render.
Two design decisions worth calling out:
- Resume on relaunch is automatic. If a video already has an
_anonymized.mp4output in the chosen output folder, the job starts in the completed state. Pointing the app at the same input + output folders after a crash skips already-done videos. Persistence is "for free" via the filesystem — no manifest to serialize, no SQLite, no state file. - Atomic-rename writes. Each job writes to
.<name>.tmp-<uuid>in the output folder during processing and renames to the final name on success. A partial output never appears in the listing, and a partial file never tricks the resume logic into thinking a video is done when it isn't.
You can remove videos from the list before or during a run, stop a single video without cancelling the whole batch, or reprocess one row with new settings after the batch finishes. The runner iterates by next-queued lookup rather than index, so removing items mid-run can't shift the iteration out from under itself. That kind of detail wouldn't matter on paper, but the moment a user is staring at a 50-video queue thinking "actually, skip this one," it matters a lot.
The Detour I Pulled Back Out
I also took a stab at selective face blurring: pre-scan the video, cluster face embeddings into unique identities, let the user tap which faces to blur and which to keep visible. Done well, this would let a teacher post classroom recordings with their own face visible and every student blurred — a real, valuable privacy use case.
Done well is the operative phrase. Apple's Vision framework has no public face recognition API — VNFaceObservation doesn't carry an embedding, and Photos' people-clustering is entirely private. So I bundled a MobileFaceNet Core ML model, did 5-point landmark alignment to canonical 112×112, and ran cosine clustering on the resulting 512-dimensional embeddings.
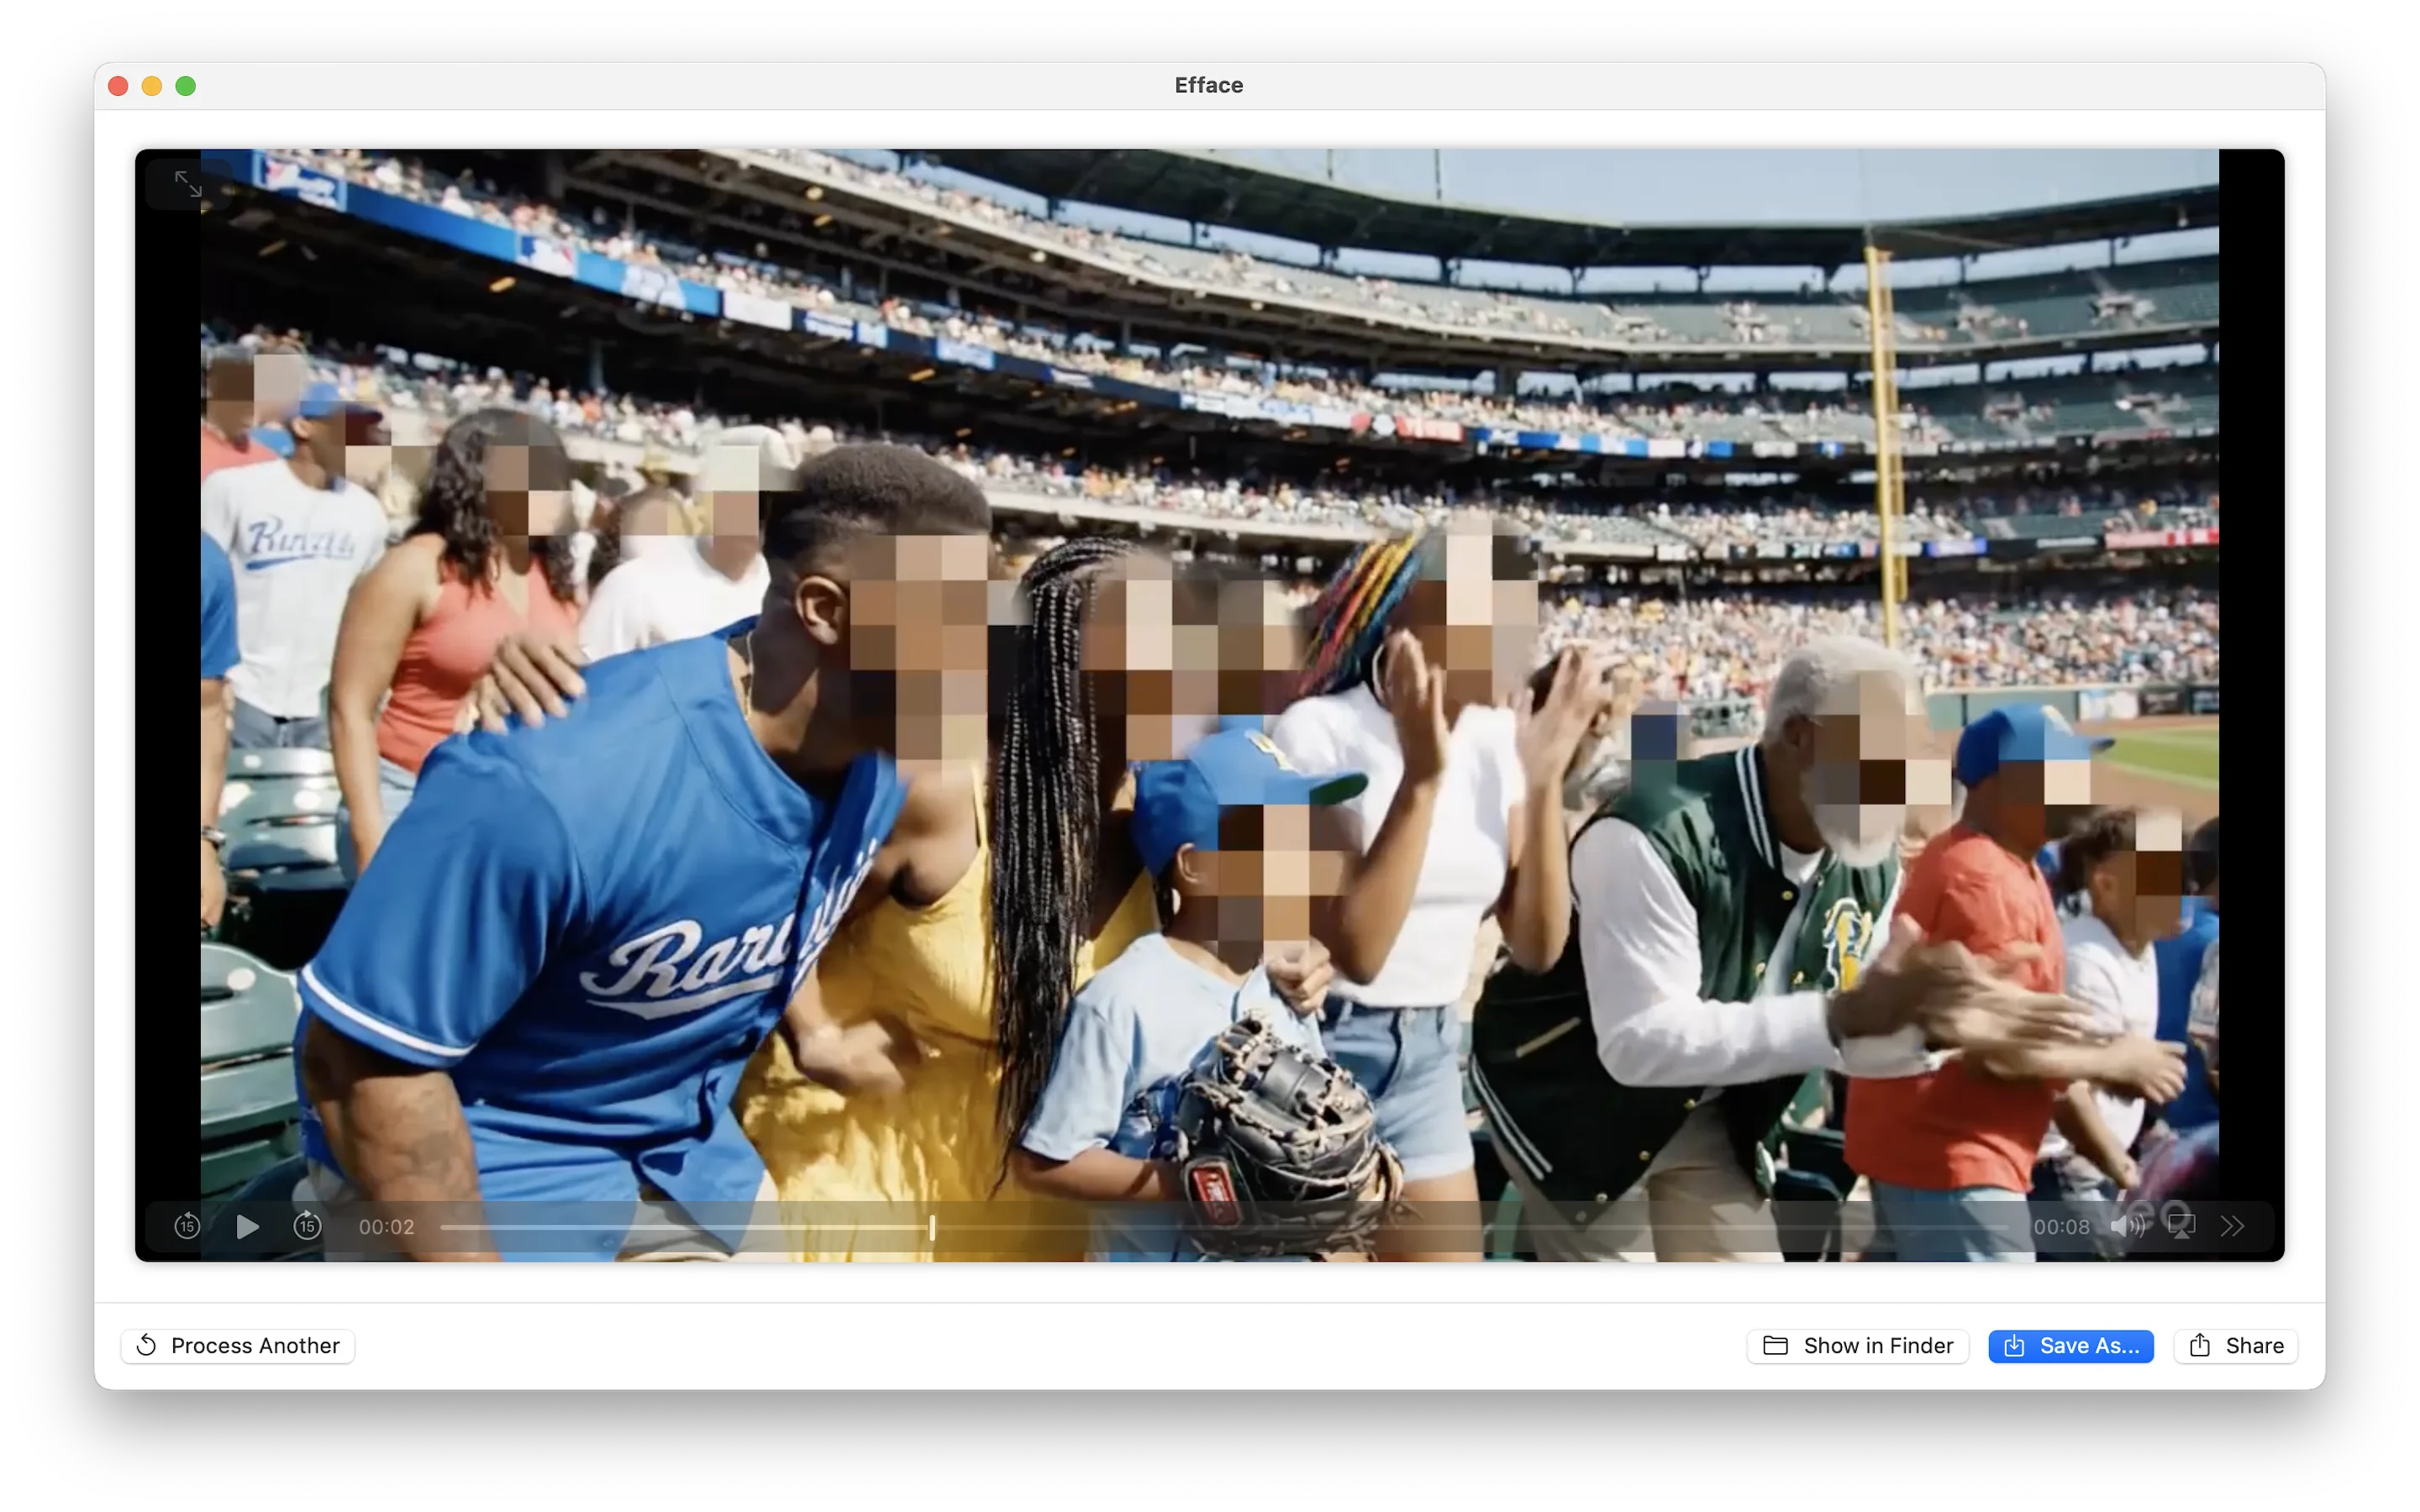
It worked on easy footage. On a video of a group at a sporting event — varied lighting, motion blur, profile views, similar face sizes at distance — the same person consistently split across two or three clusters. Classroom footage with thirty kids was probably going to be the same story. Once I followed that thread, I realized one-vs-many face re-identification on uncontrolled real-world video is genuinely a research-grade problem, not a weekend project. Shipping a "privacy mode" that worked on tutorials and broke on the actual use case would have been worse than not shipping it.
So I pulled the whole feature: FaceIdentity, FaceClusterer, FaceEmbedder, PreScanner, FaceSelectionView, the bundled MobileFaceNet model. About 1,400 lines of code, gone. The full implementation lives on a feature branch in case the technology shifts and the problem becomes tractable later.
Cutting it had a nice side effect for the App Store path: the only bundled model on master is now CenterFace (BSD-3 licensed), which makes licensing review trivial. The MobileFaceNet weights had murky provenance that I would have had to resolve before shipping commercially anyway.
Privacy Manifest and Small Polish
For App Store submission, Apple requires a PrivacyInfo.xcprivacy bundle declaring tracking, data collection, and "required reason" API usage. Efface's is short and honest: zero tracking, zero data collected, file-timestamp APIs accessed under reasons C617.1 (the app's own temp directory) and 3B52.1 (files the user explicitly picks via drag-drop or Open). The manifest is purely declarative — there's nothing to enforce because there's nothing being collected.
One bit of UI polish small enough that I almost didn't write about it: macOS dims default-action buttons when the window loses focus. The user reported the "Start Batch" button appearing to vanish when they clicked another window. I added a custom PrimaryButtonStyle that paints its own accent-colored background regardless of window state. Six lines of code, big perceived difference.
Lesson Earned (Again)
The "ship the simplest thing" rule earned another data point. The selective-blur path was conceptually elegant and technically interesting to build. But the underlying ML problem doesn't have a robust off-the-shelf solution today, and a privacy feature that only works on easy footage isn't a privacy feature — it's a hazard. Cutting it shrunk the binary by ~7 MB, removed a licensing concern, and made the remaining feature set the actual story: anonymize a file, anonymize a folder, preview before committing. That's the whole tool.
The released v1.1.0 binary is 7 MB. Notarized, stapled, sandboxed, on-device, no network. Available on GitHub Releases.
Lessons Learned
Don't fight the hardware
Apple Silicon has dedicated engines for specific workloads—Neural Engine for ML, GPU for graphics, media engine for video codec. A native app that uses the right engine for each task will outperform a cross-platform solution running everything on CPU.
Test with release builds
The Float16 crash only appeared in optimized release builds. Debug builds used Float32 by default. If I'd run my test suite against a release build before shipping, I would have caught it immediately.
Read the reference implementation
Converting the ONNX model to Core ML took one function call. The hard part was correctly decoding the output tensors—understanding coordinate systems, reference frames, and interleaved channel layouts. Read the original paper, read the reference code, then read them again.
Ship the simplest thing
The app has no preferences database, no cloud sync, no plugin system. You drop a file, adjust a few sliders, and click Process. The entire state machine has five states. Sometimes the right architecture is no architecture.